Friday, April 13, 2012

Craft #3 Hex Nut Bracelet-- Braided

Bonjour!

I have two bracelets for you, both involving the same materials!
This past winter, before I had succumbed to Pinterest, I found this tutorial for a DIY braided hex nut bracelet, which I promptly made.  I bought a whole little box of hex nuts, so they've been sitting around my apartment since then.  I've tried things with them here and there, but now I'm officially out to use them up!
So here is bracelet #1-- The Super Cool Hex Nut Bracelet

Basic idea:  thread a hex nut (or bead) onto your strands as you braid


I started out with some string that I pilfered from my parents' house, and to make it more interesting I added a strand of the blue thread that I got for the Easter egg project. It ended up sneaking in and out of the braid and added a nice touch.

I cut three long strands of the string, knotted an end and taped it to the table for an anchor, and braided several inches.  It might be best to judge how far in you want to start the hex nuts for yourself (I have fairly skinny wrists).  It just needs to be long enough that you can tie the ends together!
For your planning purposes: on my bracelet, 10 hex nuts is about an inch, I used 16, and it's centered nicely on my wrist.


So now you need to start adding the hex nuts. Let's say you have just put the right strand over to the middle and you're about to do the left side. First, thread the hex nut on and let it slide and nestle up to the braid, then bring that strand over to the middle.


Next you do the same to the right side. Thread the hex nut on, nestle it, bring the strand to the middle.  It's just basic braiding with an addition.
I wasn't able to get super great pictures of this part (I need to start doing projects when my roommates are home so they can help me!) so if you get confused, the original DIY has a great series of pics to help!


Since I already made a basic bracelet, I wanted something different, so I decided to make it loop around my wrist twice. After I braided the first 16 hex nuts on, I stopped adding and just continued braiding until I had gone far enough that it brought me back to the top of my wrist. Then started braiding in the hex nuts again, but twice as many as the first one.  Then was a tail for knotting , et voila!
As an added bonus/if you want to get really fancy, does anyone remember these bad boys? How the ends are knotted around the string so you can slide the bracelet looser and tighter? Fun fact: Google says those are slide knots, and after some trial and error, I made one around the middle! Because the hex nuts are so heavy, it was a little hard to get everything situated so I could tie the ends myself.  This way, I can slide it loose, put it on, tighten it, and tie the other end.  Next time I would give myself extra, extra room on the ends so that I could do slide knots on both ends, to be exactly like those 80s/90s bracelets.
So there we go! Hex nut use #1, #2 to follow soon!

If you have any questions, comments, suggestions, or really anything you want to say, leave me a comment! 
I would love to know what you're thinking! :)

Saturday, April 7, 2012

Craft #2-- String Easter Eggs

Just in time for Easter, this was pretty easy and you get to get nice and gooey and sticky! Here's my inspriration , you just click on the picture and it takes you on to the instructions on Crafty Endeavor.  Also, after I had already made the eggs, I found instructions for baskets! I may still make one :)  

Basic idea:  dip string into a glue/stiffener, wrap it around a balloon, let it dry, and pop the balloon out from underneath the dried string. 


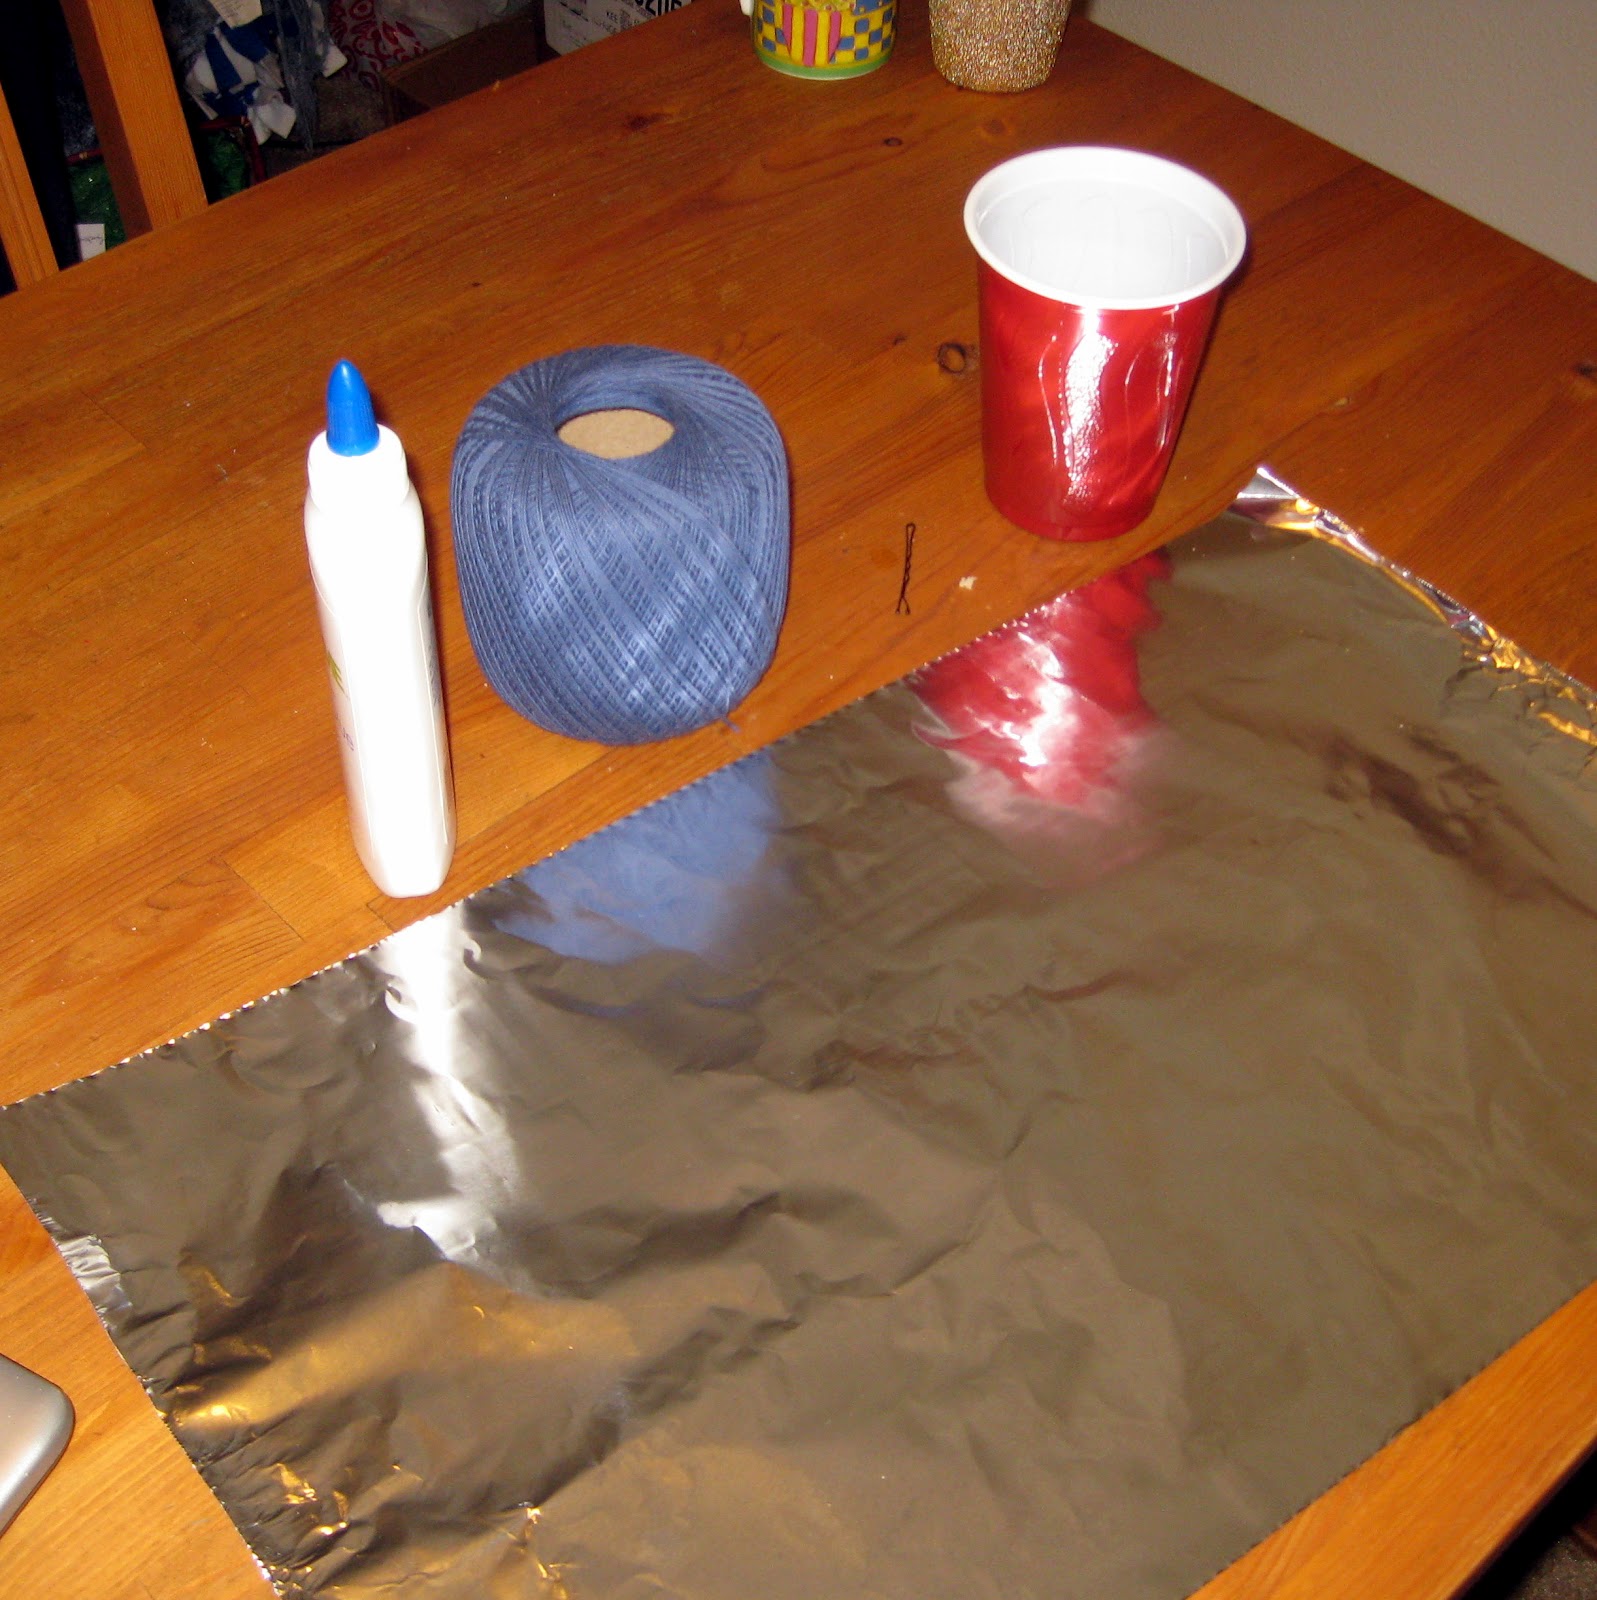
So! you need some sort of string- embroidery thread, for example, or crochet thread, which is what I used. For a stiffener I used a watered down white glue (the same glue I used in the previous post to adhere the tissue paper!), but you can use liquid starch also. I chose glue simply because I'll have opportunities to use the rest of the bottle, and because I don't have any need to starch my tee-shirts. And then, of course, you need balloons-- water balloons are about right!
 I used about three yards for each balloon, but I probably could've used more. It was recommended in the instructions to coil your string into the glue mixture to avoid knots. I did that for the first couple balloons, and it did keep my string pretty tangle-free, but I discovered it was faster and easier to coil the string around my fingers before dealing with the glue at all-- your fingers get pretty sticky which makes it a lot harder to deal with dry string.

Once I had my balloons blown up, all my string coiled, and my glue to a slightly watered down consistency, but not super watery, I dunked a coil into the glue, squeezed out the excess and started wrapping it around the balloon.  Unfortunately, due to gluey fingers, I don't have any pictures of that part. You just wrap it all around.
 I made them in the evening and left them to dry overnight, then popped the balloons after I got home from class in the afternoon.  There was a bunch of glue remains left in between the strings, and I scraped some of it out with an open pair of scissors.

Once I had all my eggs, (I ended up with six- one balloon deflated before it dried, and one just wasn't strong enough) I strung them up the long way and hung them in the little space between the windows in our living room.  Perfect little decoration! Some  of them kinda look like pears though. Oh well! I like them!

Wednesday, April 4, 2012

Craft #1-- Date Jar

Alright! In between classes, homework, and apartment hunting, I made my first DIY: "Date Night in a Jar" (you can click on the picture to see the how-to from Life in the Green House, but they, in fact, got the idea from an older Pinterest link, which leads here)
I have been talking about making something like this for about three years-- the entire time my boyfriend and I have been dating, and my roommate T thinks it's funny that I'm making this now since my boyfriend and I are basically long-distance.  Still, when we're together, we get gussied up and go out now and then, but on regular days we go through a series of "I don't really care, what do you want to do?" and then end up renting a movie or watching TV.  Not the end of the world- we've found some shows that we really enjoy, but it would be nice to spice up life with some variety now and then, so! on to The Date Jar!  

Basic idea:  Paint craft sticks, and then write date ideas on them!  Super simple!

I toodled over to the store on my way home from class the other day to get glue for my next diy and picked up some big craft sticks, and then washed out and peeled the label off a spaghetti sauce jar, which ended up being the perfect height!
  In the other blog, she spray painted her craft sticks, but my lovely roommate T had some acrylic paint that she let me use.


 I decided on four colors:  purple, blue, aqua, and "primrose pink." I started out painting 10 sticks in each color, leaving me 8 or so left over in case I messed up or came up with more exciting date ideas.

The paint dried pretty fast, which was nice. After everything was painted, I came up with a list of date ideas that I wanted to put on my sticks. I adapted some date ideas from the Green House, some from my roommates, some from Google, and some just because they're our usual.   By the time I finished writing the list, the sticks were dry and ready to be written on!


Here's where I deviated-- on the Green House she divided up her dates by price, essentially.
 I divvied my dates up differently:

Blue sticks = food choices- some of mine were Mexican, Chinese, pizza, breakfast, spaghetti, something we've never tried before, random page in a cookbook, and dessert only.

Pink = activities that are away from home, and not too pricey like bowling, mini golf, out to the movies, or to the park, massages, trip to the mall, dress up fancy and go to a restaurant...

Purple = home-based and free or inexpensive, casual activities like renting a Redbox movie, playing board games, xbox/wii games, blackout (no electricity or phones), popcorn and a marathon, sports night and spa night.

 This way, you have the flexibility of choosing to just pick an activity, or have a meal and do something fun, or make something at home and keep things chill. A little something for everyone. :)

Next step was decorating the jar.  I wanted to cover it to prevent peeking at the sticks inside, and also because I didn't get all the gooey stuff off from the label, so I got crafty.  I raided my stash of tissue paper and found some in a nice light blue that went with my color scheme, so I cut that (folded hot-dog style) to fit in the middle of the jar. There was some watery white glue left from my first attempt at the next project, and I used my finger to spread that around on the jar, and smoothed the paper over it. Full-strength white glue would have been too much for the tissue paper, but this was perfect. Plus it reminded me a lot of making tissue paper vases like this in elementary school.  :P


 I then made a label for the jar, just from printer paper and a Sharpie, and a key for what the different colors mean, which I put on the back (adhering both labels with the same glue I used before)
Last addition was the ribbon, which came from my collection. It just adds the final touch :)
 et voila!
I'll let you know when we get to use it!


Sunday, April 1, 2012

Here I start my challenge to do, make, paint, braid, craft, sew, and puzzle out all of my pins on Pinterest- specifically my DIY board, but also some hairdos, naildos, and maybe even an occasional recipe! Why not?
My goal with this is to keep busy (aka watch less TV), and to learn new things.  So stay tuned as I get to know everyone at my local hardware store, learn how to sew, and put my creativity to the test! :)


À bientôt!