On to my project! I actually finished it a week ago, and have just been putting things off. It did take me a while to do, however. In Attempt #1 I used a shirt from JC Penny's that I got for $2. Unfortunately I didn't pay attention to the details in the instructions (click on the picture to see the whole tutorial!). It was mostly polyester, which I found out is pretty colorfast. Since I couldn't see any color coming up, I kept putting more bleach on and it ate through the shirt! Too bad, since I liked the style of Attempt #1's shirt better than Attempt #2's tank. Ah well. It turned out well in the end.


Basic idea: bleach a design on a shirt! Sorta like reverse tie-dying.
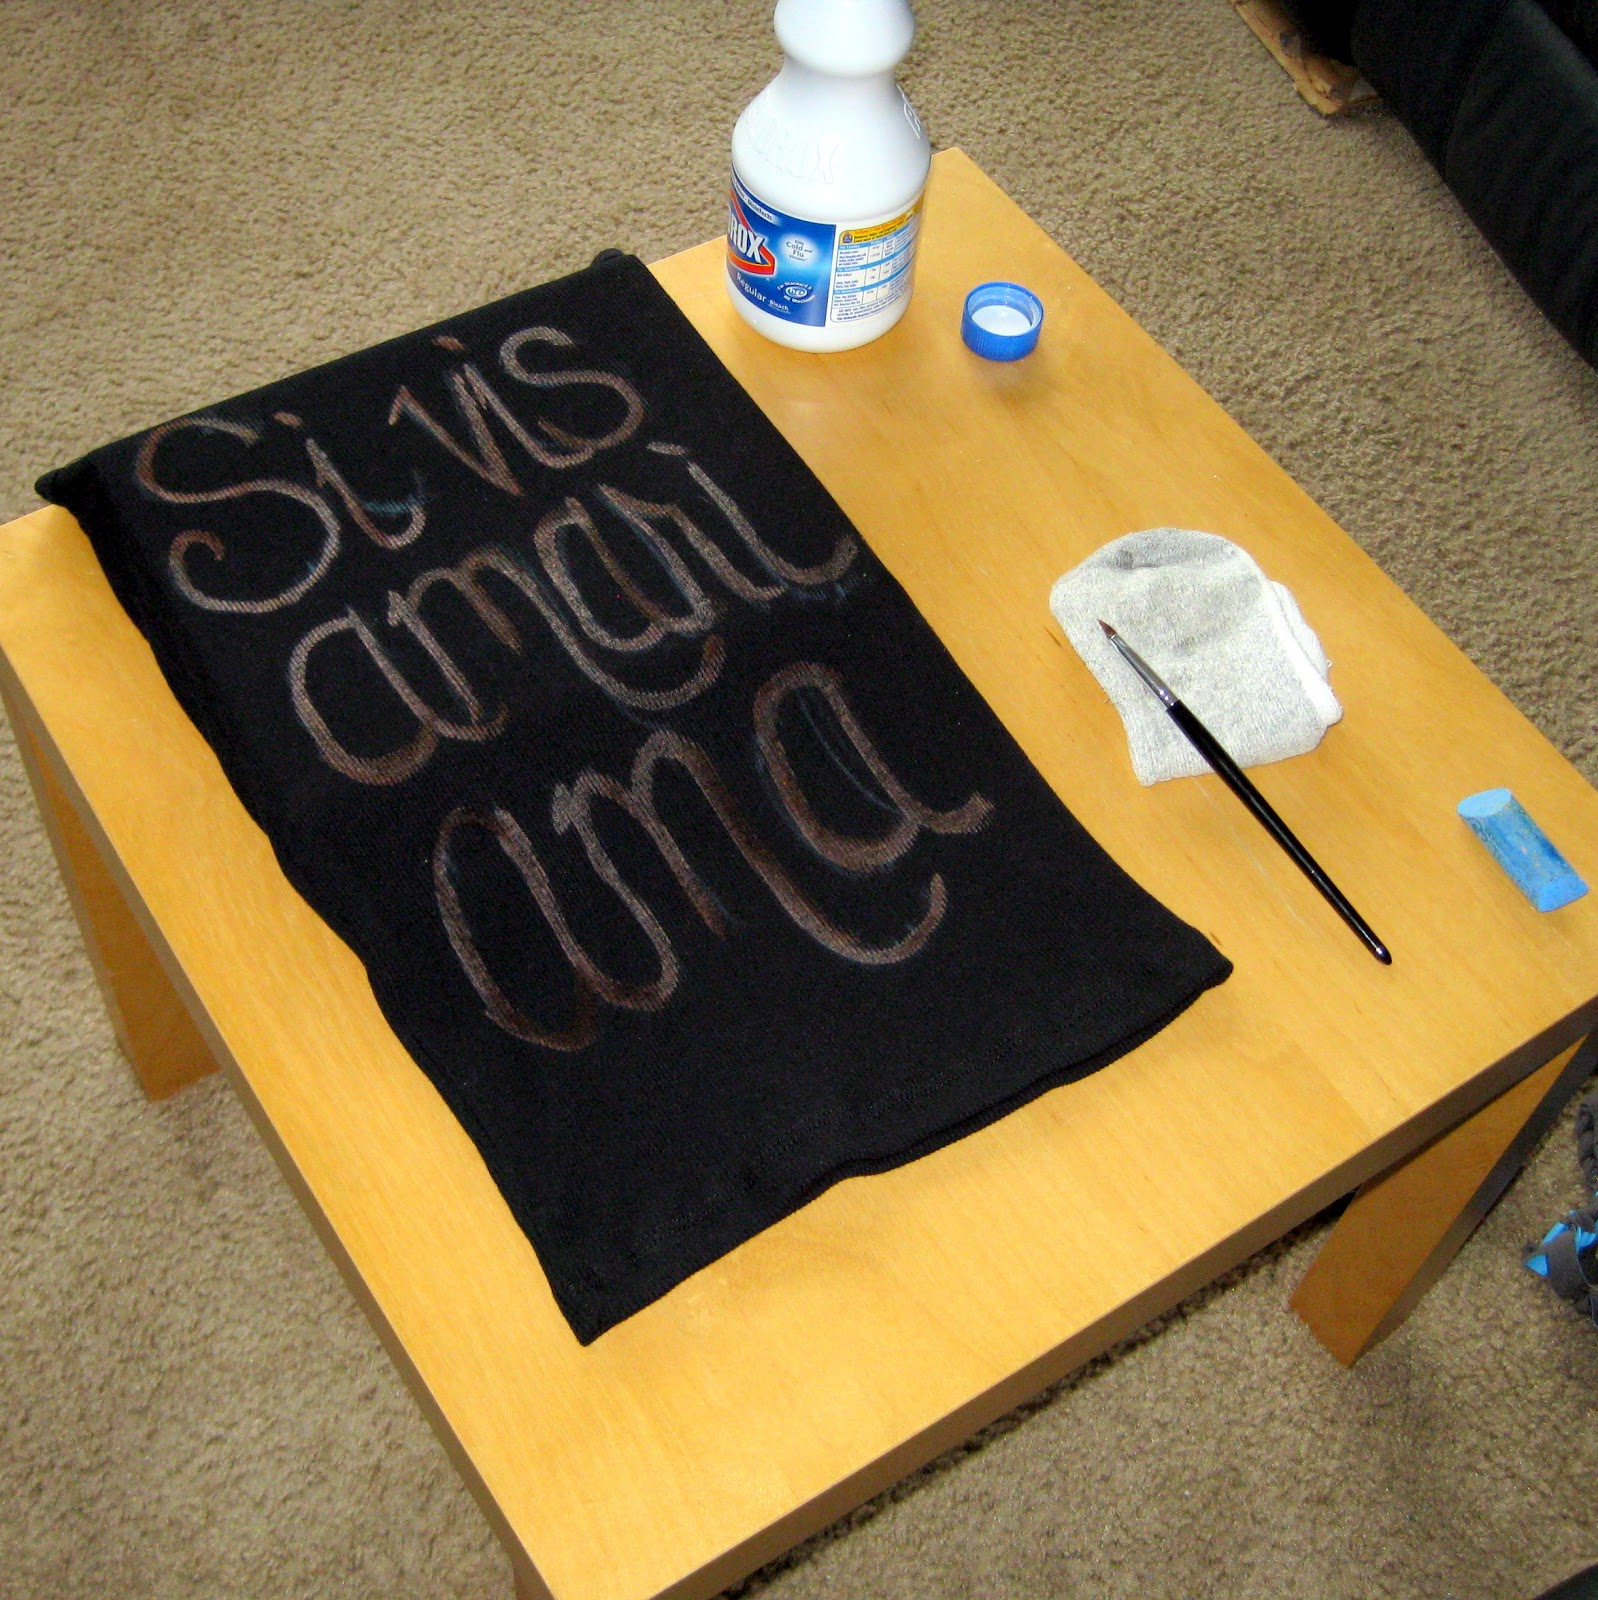
You'll need (non-color safe) bleach, chalk to draw your design with, a synthetic bristle'd paint brush (if you use brushes with real hair bristles they dissolve in the bleach. Again, I didn't read the instructions until afterwards). I used an old sock to catch drips and rest my brushes on, and of course, you need a cotton shirt. Seriously. Cotton.
You'll also need something to stop the bleach from going onto the back of the shirt. I used a cardboard box the first time, and a telephone book the second time, but I hear you can use a white and/or old towel.

Once you've got that all set up, sketch your design on the shirt with your chalk. If you mess up or change your mind, no worries, the chalk will wash out.
Side note about my quote:
I'm a language nerd. I took a year of Latin my freshman year of college, loved it, and this became one of my very favorite quotes.
"Si vis amari, ama" is from Annaeus Seneca, a Roman philosopher. It means "If you wish to be loved, love."
Once you have your design all settled, start painting! It's pretty incredible how fast the color comes out. As you can see in my finished pictures, I ended up with parts more red and parts more white. I like it, but you can go back over with more bleach if you want it to be more even.


Just to show you the difference between a cotton shirt and my Attempt #1 shirt which was polyester-- you can already see the red/white color on the 'S', while I'd bleached the entire quote on the pink shirt and it just looks damp.
I recommend getting a smooth shirt versus a ribbed one, though, because I could paint more smoothly on the pink shirt versus the tank. I also had more room, so I like the way most of it looked on the pink shirt versus the black.
And here's the cotton after I'd done the whole design:
Once I was happy with the design, I let it sit in the window light, since the instructions say to put it in the sun. After that I hand washed it, just in case. I didn't want to throw it in a full load and have something go wrong and get bleach on all my clothes! I did throw it in the dryer, and then the next time I did a load of laundry I threw it in.
I'm pretty happy with the way it turned out, but I do want to do it again on a more flow-y shirt.

There you go, another surprisingly easy project! Questions or comments let me know. :)
No comments:
Post a Comment